What the condenser actually does
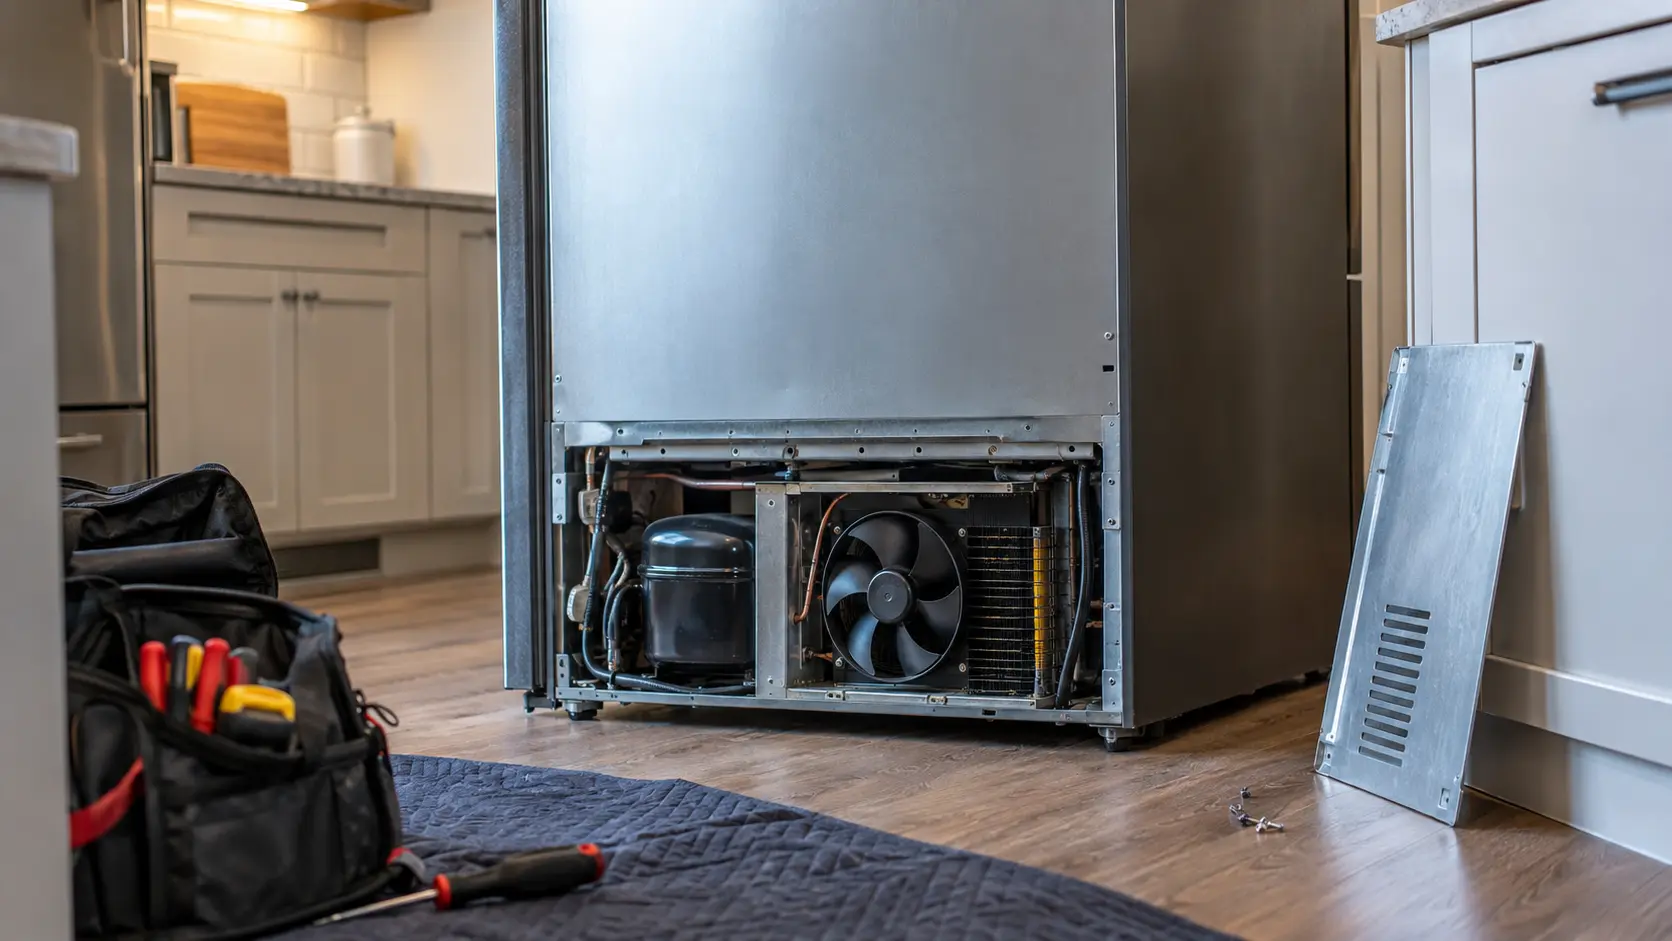
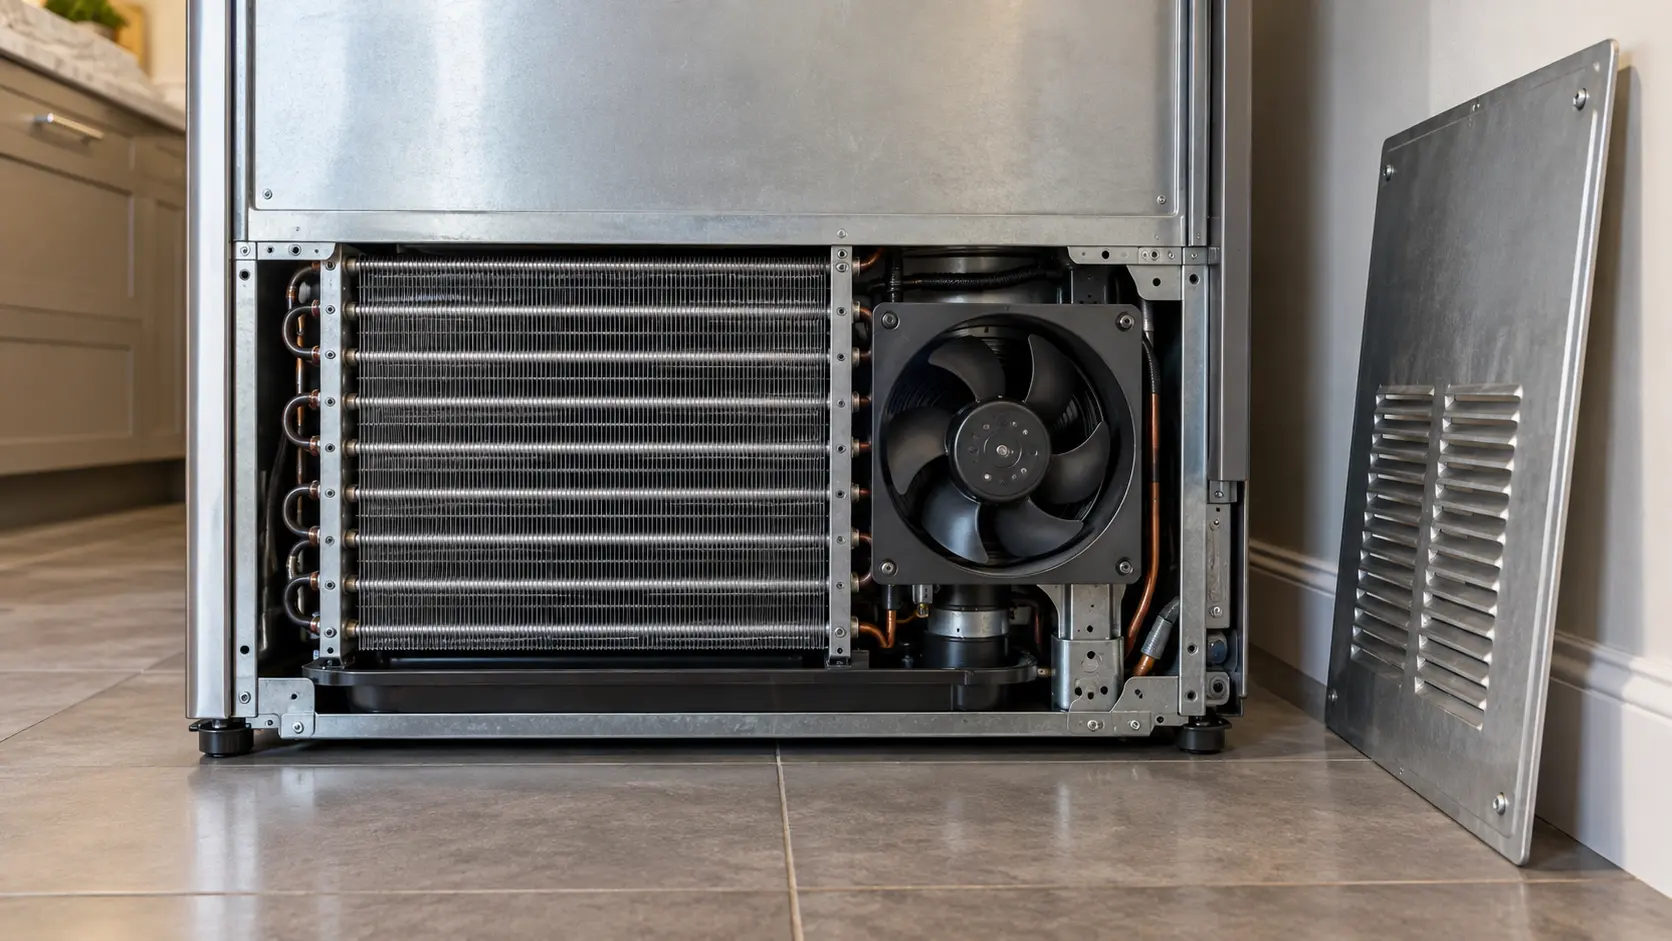
The refrigerant picks up heat inside the cabinet and carries it to the condenser, a grid of tubing and thin metal fins, where a small fan pushes room air through and carries the heat away. If the air cannot pass, the refrigerant stays hot, pressure climbs, and the compressor runs longer to achieve less.
Nothing breaks immediately. Many of the calls we see about a unit that never shuts off trace straight back to this coil. Instead of a sudden failure, a clogged coil shows up as:
- The unit running more hours each day.
- The compartments creeping a few degrees warmer on hot afternoons.
- The compressor and condenser fan motor wearing faster than they were built to.
Where it sits on each type
Knowing how to clean refrigerator condenser coils starts with finding them, and the location follows the design of the appliance rather than the brand.
| Type | Where the coil is | Notes |
|---|---|---|
| Built-in | In the machine compartment above the doors, behind a grille that tilts up or lifts off | Every breath the machine takes passes through those louvers, so a film of dust on them costs more here than on any other design. |
| Column | Above the door on many models, in the toe kick on others | The use and care guide shows which, and each column has its own coil. |
| French door and side-by-side | Underneath, reached through the snap-off grille at the floor | The fan sits behind the coil at the back. |
| Undercounter | Behind the front grille at floor level | The unit has nowhere else to breathe once it is set into a cabinet run. |
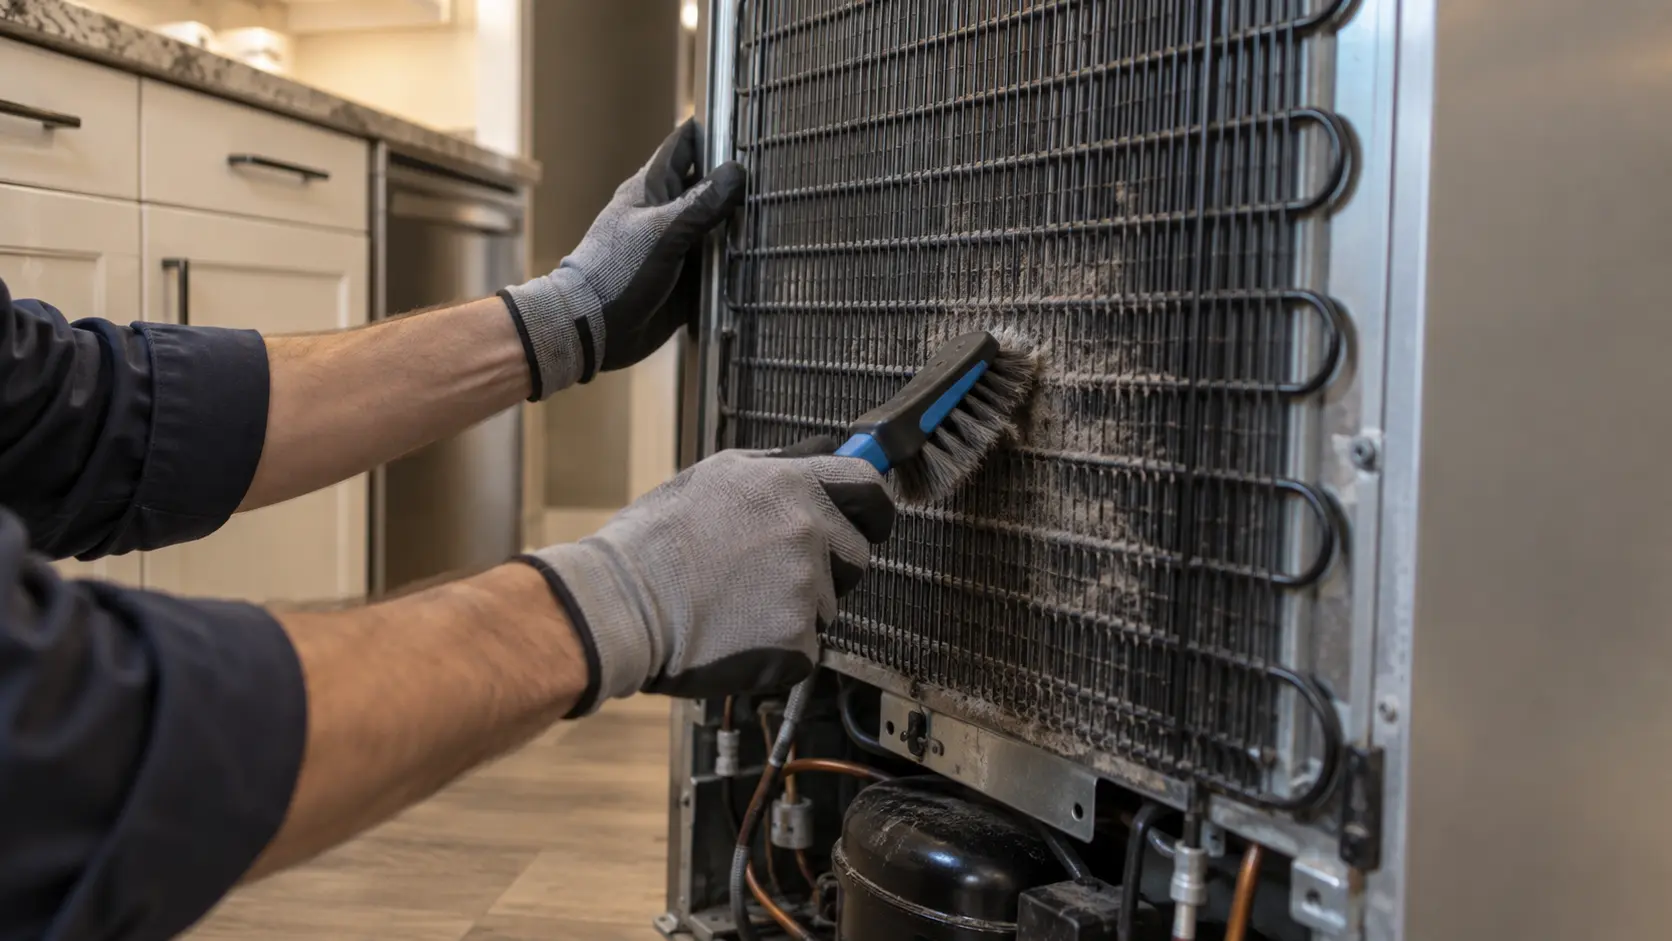
| Older top-freezer | Sometimes a black wire grid on the back | Cleaned by pulling the unit forward. |
Source: GE Monogram — 36, 42 and 48-inch built-in side-by-side owner's manual — Built-in condenser sits behind the top grille; brush and vacuum it
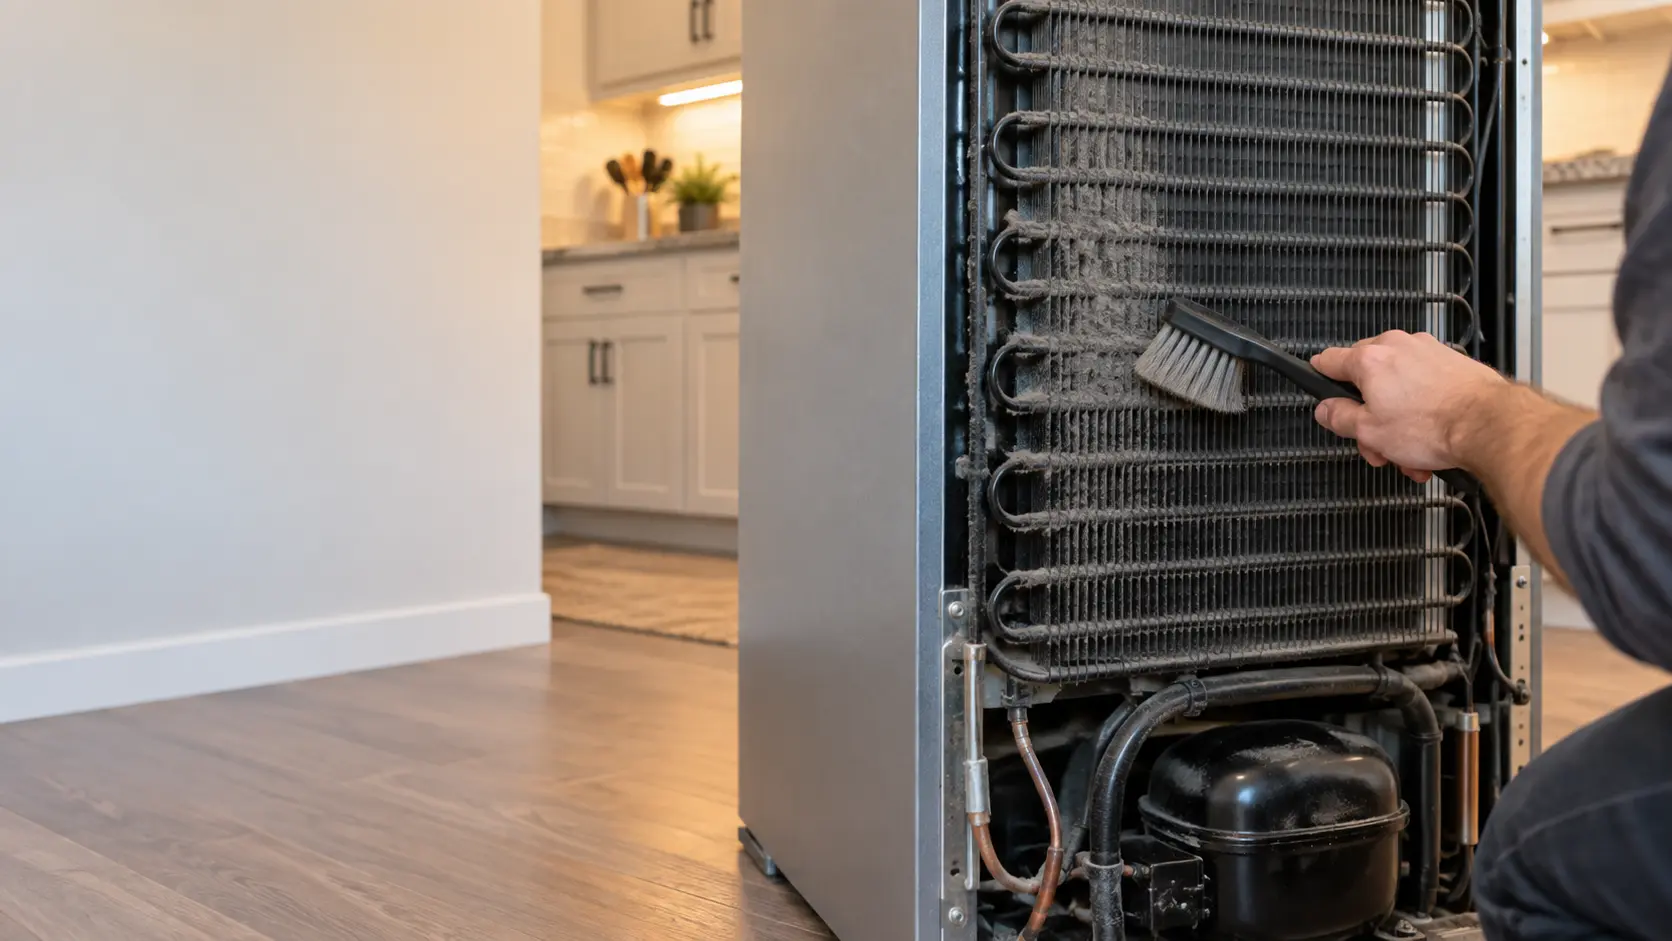
What you will find in there
Normal dust and lint
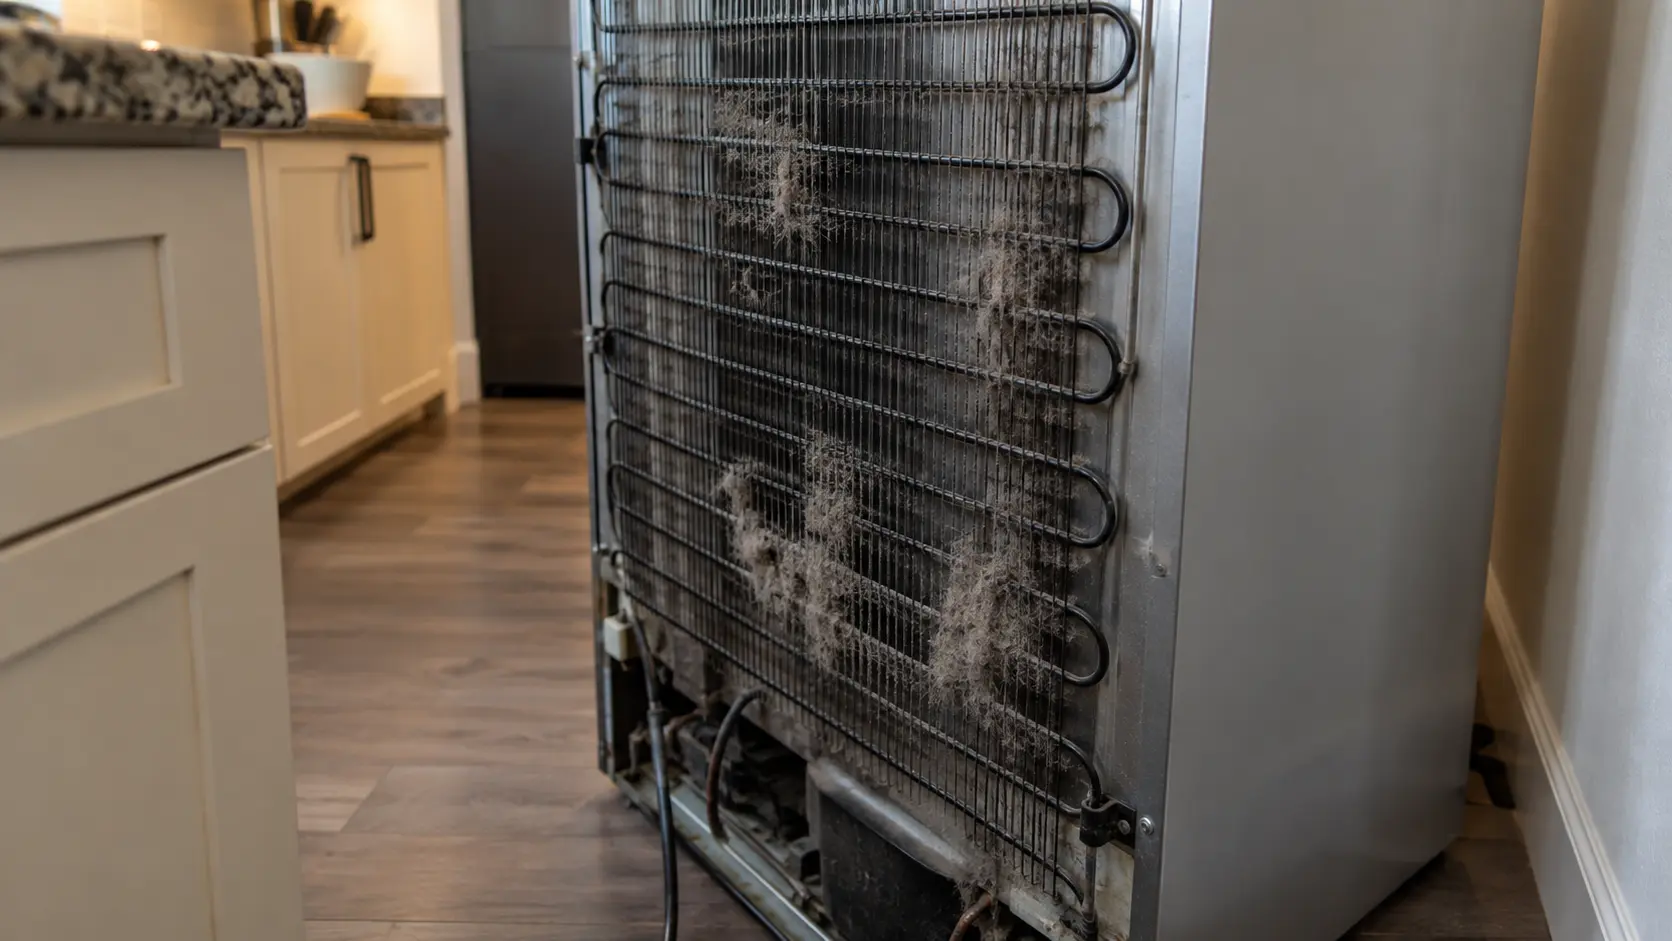
If nobody has touched it for a few years, expect a gray felt of lint and fur lying on the front of the coil, sometimes with a layer of grease on built-ins that sit near a cooktop. The fins underneath should be visible metal, evenly spaced, with light passing between them.
Things to note and leave alone
Oil around the tubing can mean refrigerant is escaping, since the oil travels with it. Note these and leave them alone:
- Bent fins.
- An oily film on the tubing rather than dust.
- A fan blade that does not turn when the unit is running.
How often is really worth it
Cleaning intervals by type
- A top-vented built-in in a busy kitchen: every six months, because its grille faces the room at head height and catches cooking air.
- A freestanding unit with a bottom coil: usually once a year.
- A freestanding unit in a house with a dog or cat: every six months is realistic.
Making it a routine
Put it in the calendar alongside changing the water filter, if the unit has one. The first clean after years of neglect is the slowest; the next one takes a quarter of the time. Pick a cool morning if you can: with the kitchen below 75°F the unit recovers its temperatures quickly once power is back, and a fifteen-minute interruption does nothing to the food as long as the doors stay shut. Make a note of the date on the inside of the grille with a pencil so whoever does it next knows how long it has been.
Source: FDA — Are You Storing Food Safely? — Fresh food at 40°F or below; closed refrigerator stays cold four hours; ENERGY STAR — Refrigerators (coil cleaning, brushes at hardware stores) — Keep condenser coils clean; coil brushes sold at hardware stores; Viking — FBI7360W built-in refrigeration manual (condenser cleaning) — One manufacturer recommends cleaning the condenser once every 6 months
Signs the coil is overdue
You rarely see the coil, so watch for its effects instead:
- The compressor runs for long stretches with only short rests.
- The sides of a freestanding cabinet feel warmer than usual.
- The condenser fan sounds louder as it pushes against a clogged face.
- The fresh-food side creeps above 40°F on the hottest days of summer while recovering overnight.
Reading a built-in grille
On a built-in, look at the grille itself in daylight. A gray film you can wipe off with a finger across the louvers means the coil behind it is carrying far more. Pets change the picture quickly: a single long-haired dog can mat a bottom coil in a few months.
Source: FDA — Are You Storing Food Safely? — Fresh food at 40°F or below; closed refrigerator stays cold four hours
What cleaning cannot fix
Cleaning restores airflow; it does not repair anything. If a unit is still warm a day after a thorough clean, with the fan turning and warm air leaving the grille, the cause is elsewhere and the coil has simply been ruled out.
Clearance matters as much as dust. A freestanding model shoved hard against drywall, or a built-in whose opening was never given the air gap the installation guide calls for, cannot shed heat however clean the coil is. That is an installation issue, and it is covered in our clearances guide.