The paper test, done properly
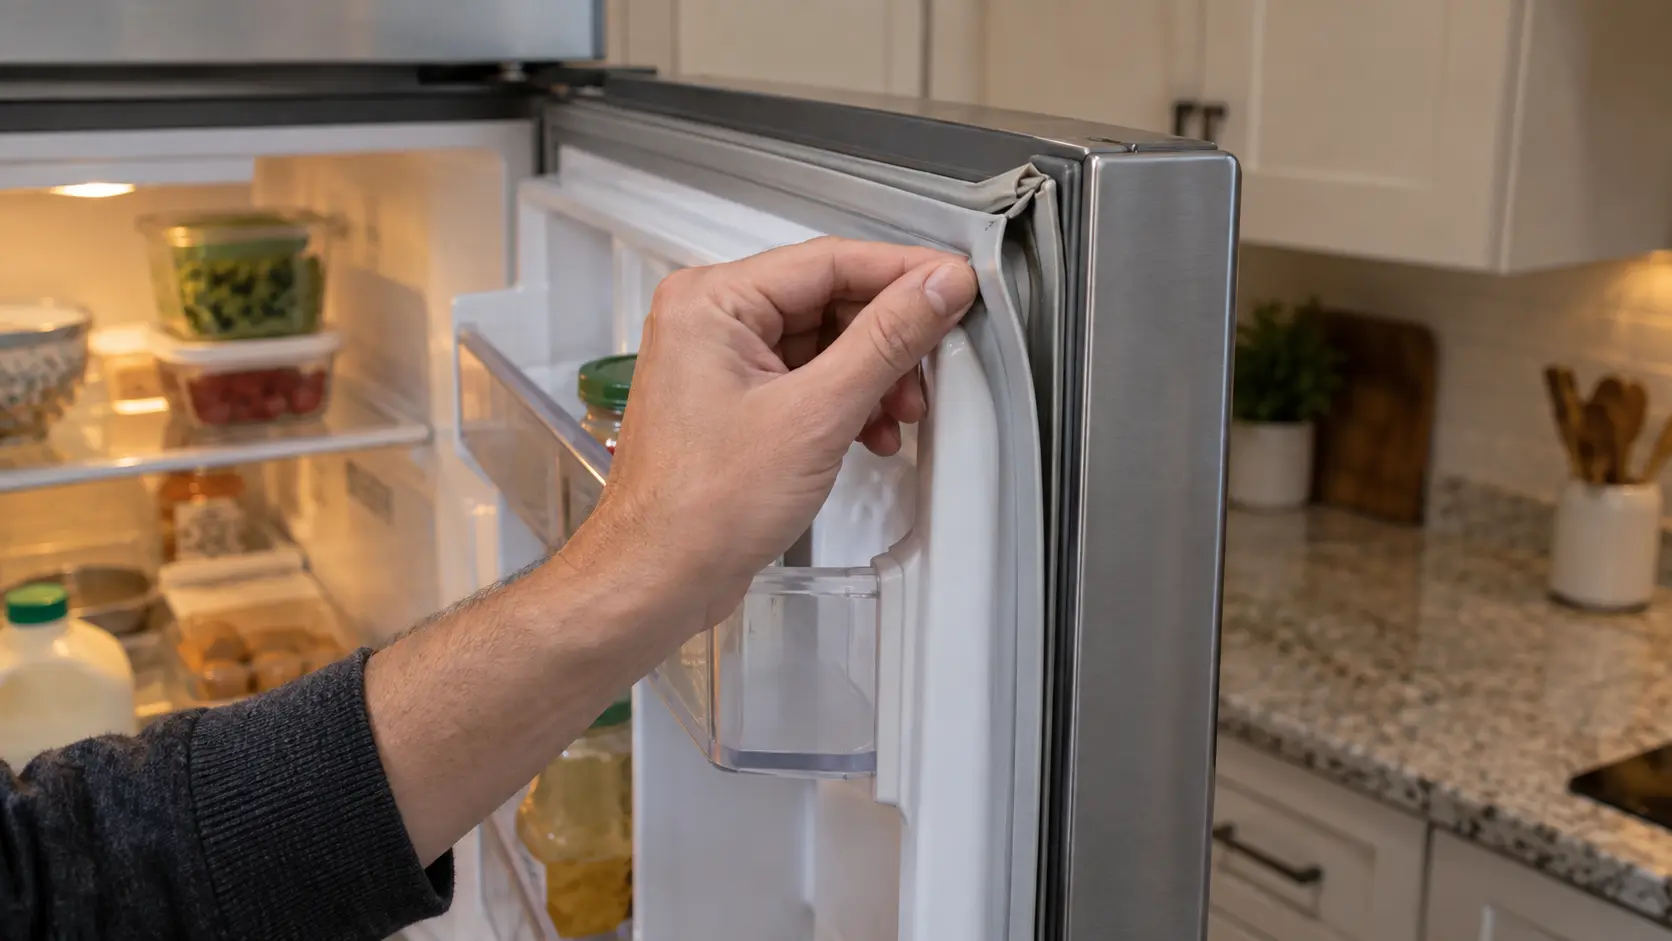
The refrigerator door seal paper test takes a strip of paper and a few minutes; doing it properly is mostly a matter of where you test.
Pulling the strip
- Cut a sheet of printer paper into strips about two inches wide.
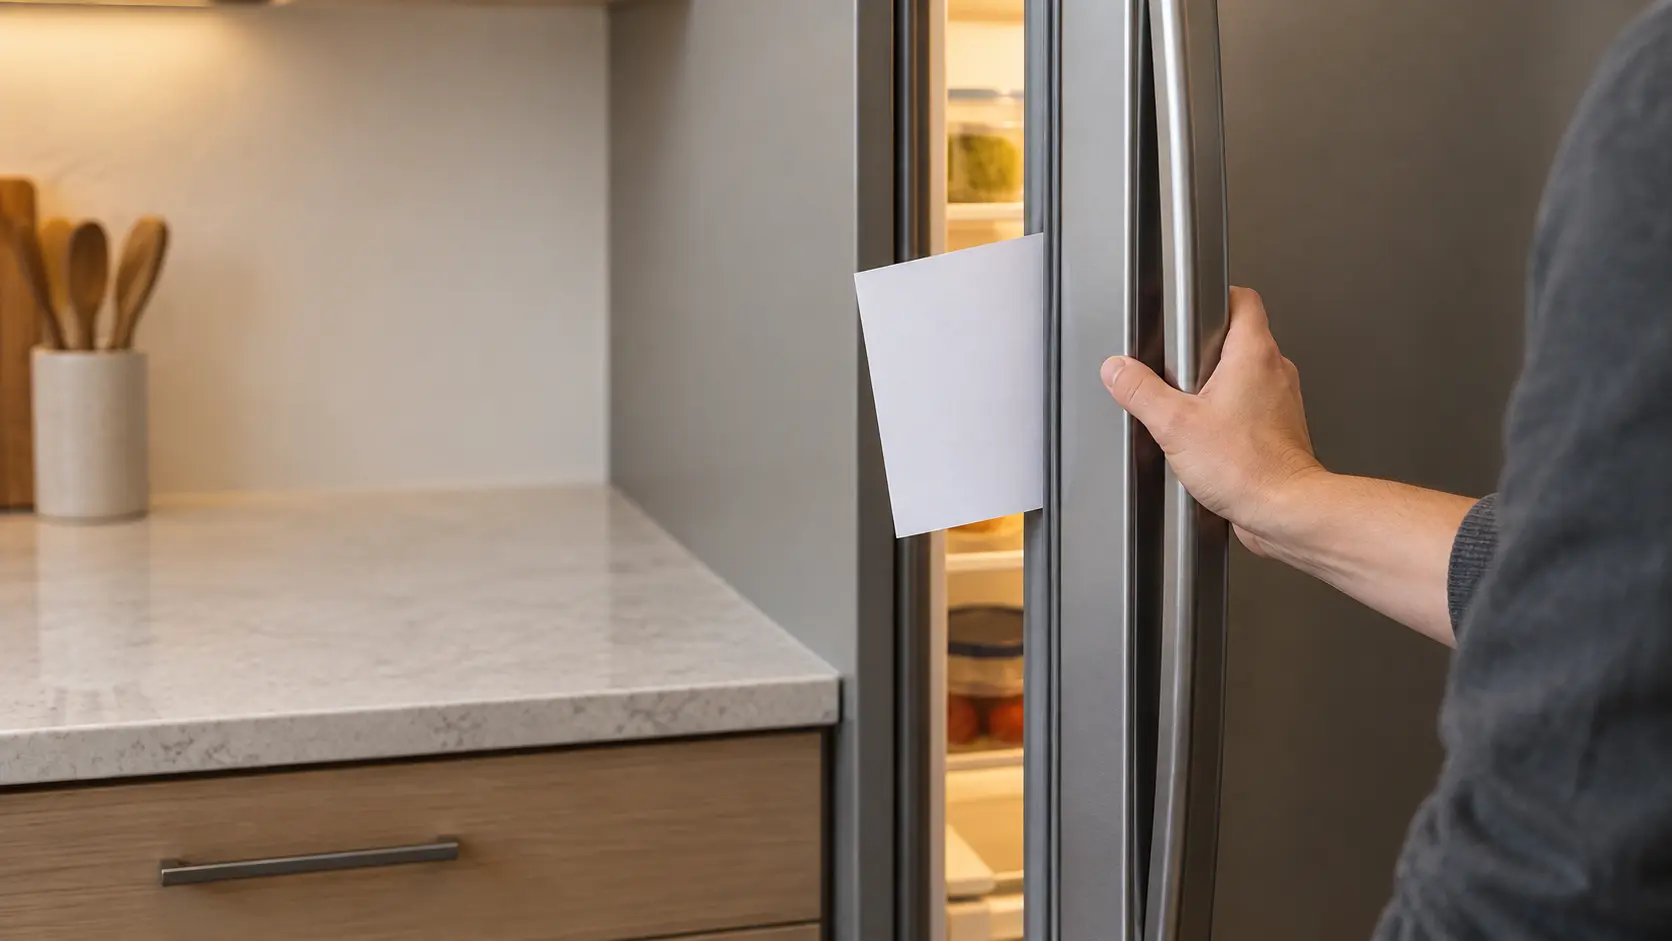
- Open the door and lay a strip across the gasket so half of it hangs inside the cabinet.
- Close the door.
- Pull the strip slowly out. You should feel steady drag; if it slides free with no resistance, the gasket is not touching the frame at that point.
Work around the whole door
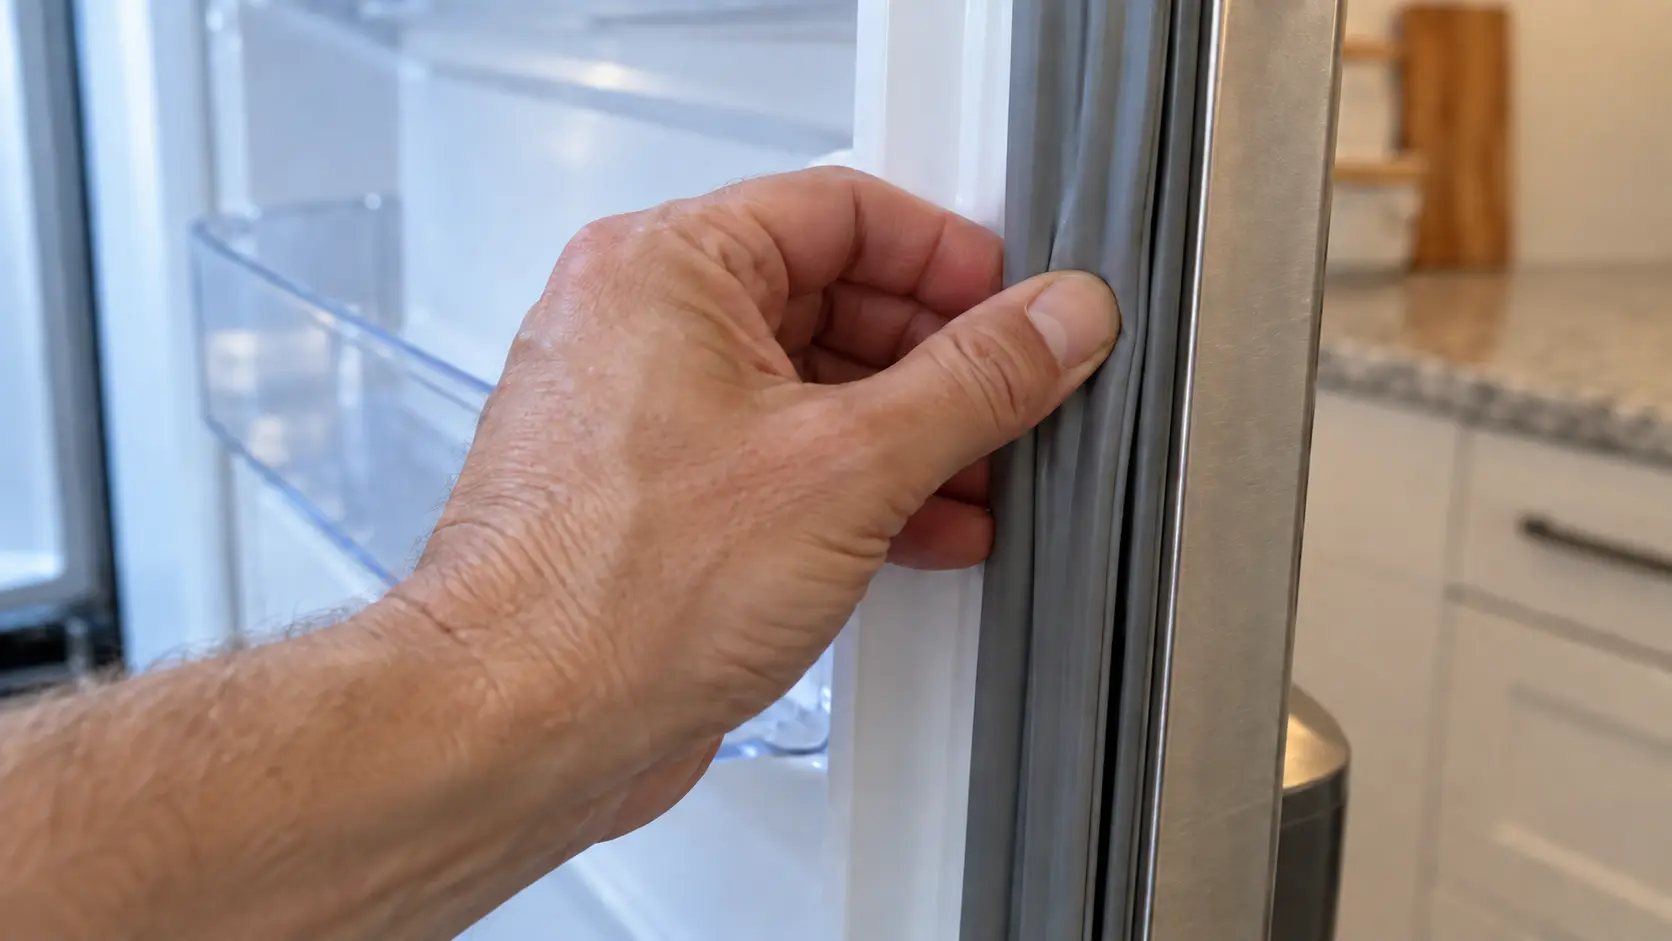
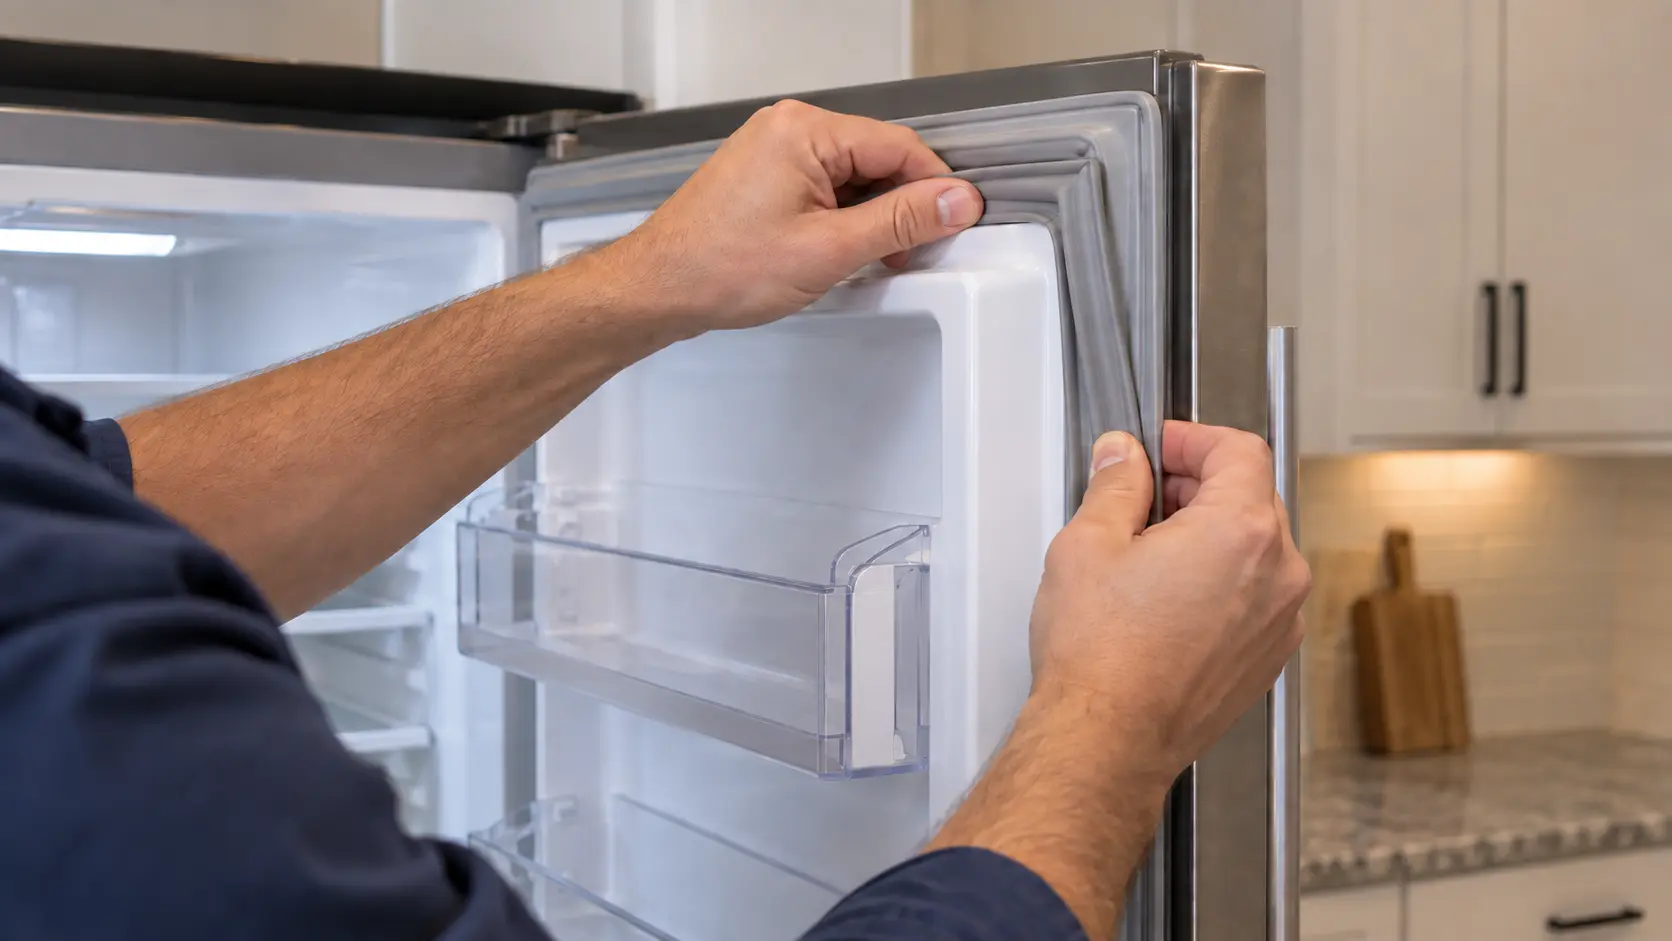
The mistake most people make is testing once, at eye level on the handle side, and calling it good. Work around the whole door every six inches or so: the hinge side, the top corners, and especially the bottom corners, which are where gaskets fold and harden first. That is the refrigerator door seal paper test as it is meant to be done, and on a tall door it means twenty or more pulls.
Spots to test on each type
- French door: test where the two upper doors meet the hinged center flap, as well as the outer edges.
- Side-by-side: the freezer door carries the dispenser and sags first; check its lower hinge-side corner.
- Bottom freezer drawer: test the top edge of the drawer, where a mis-seated basket holds it open.
- Undercounter and column: test the top edge, which you cannot see without crouching or a step stool.
Source: ENERGY STAR — Refrigerators (door seals) — Make sure the seals around the doors are airtight
Level: side to side flat, front to back tilted
Set a bubble level across the top of the cabinet, or across a freezer shelf if the top is out of reach.
Side to side
Side to side it should read flat, so that paired doors meet evenly.
Front to back and the half-open door test
Front to back, freestanding manuals want the front slightly higher, so the doors swing closed by themselves.
Open the fresh-food door about halfway and let go. It should drift shut and seal without a push. If it hangs open or swings wider, the front is too low.
Where each type adjusts
Freestanding units adjust at the front leveling legs or rollers behind the toe kick; built-ins and columns adjust with the unit in its opening, which is a job for whoever installed it or for us.
Source: GE Appliances — top-mount refrigerator use and care guide 49-6797 — Front raised just enough for doors to close from halfway open

The grille and the warm air leaving it
Whatever warmth leaves your groceries has to be shed into the kitchen, and that happens at a condenser which only works with moving air across it. With the unit running, hold your hand in front of the grille: at the toe kick on French door, side-by-side and most undercounter models, above the doors on a top-mounted built-in. You should feel a gentle flow of warm air.
Note any of these:
- The grille is furred with dust.
- The grille is blocked by a rug or a basket.
- You feel nothing at all while the compressor is humming.
What this check settles
Cleaning the coil behind the grille is covered in our condenser guide; for this check it is enough to know whether the air path is open.
Vents inside the compartments
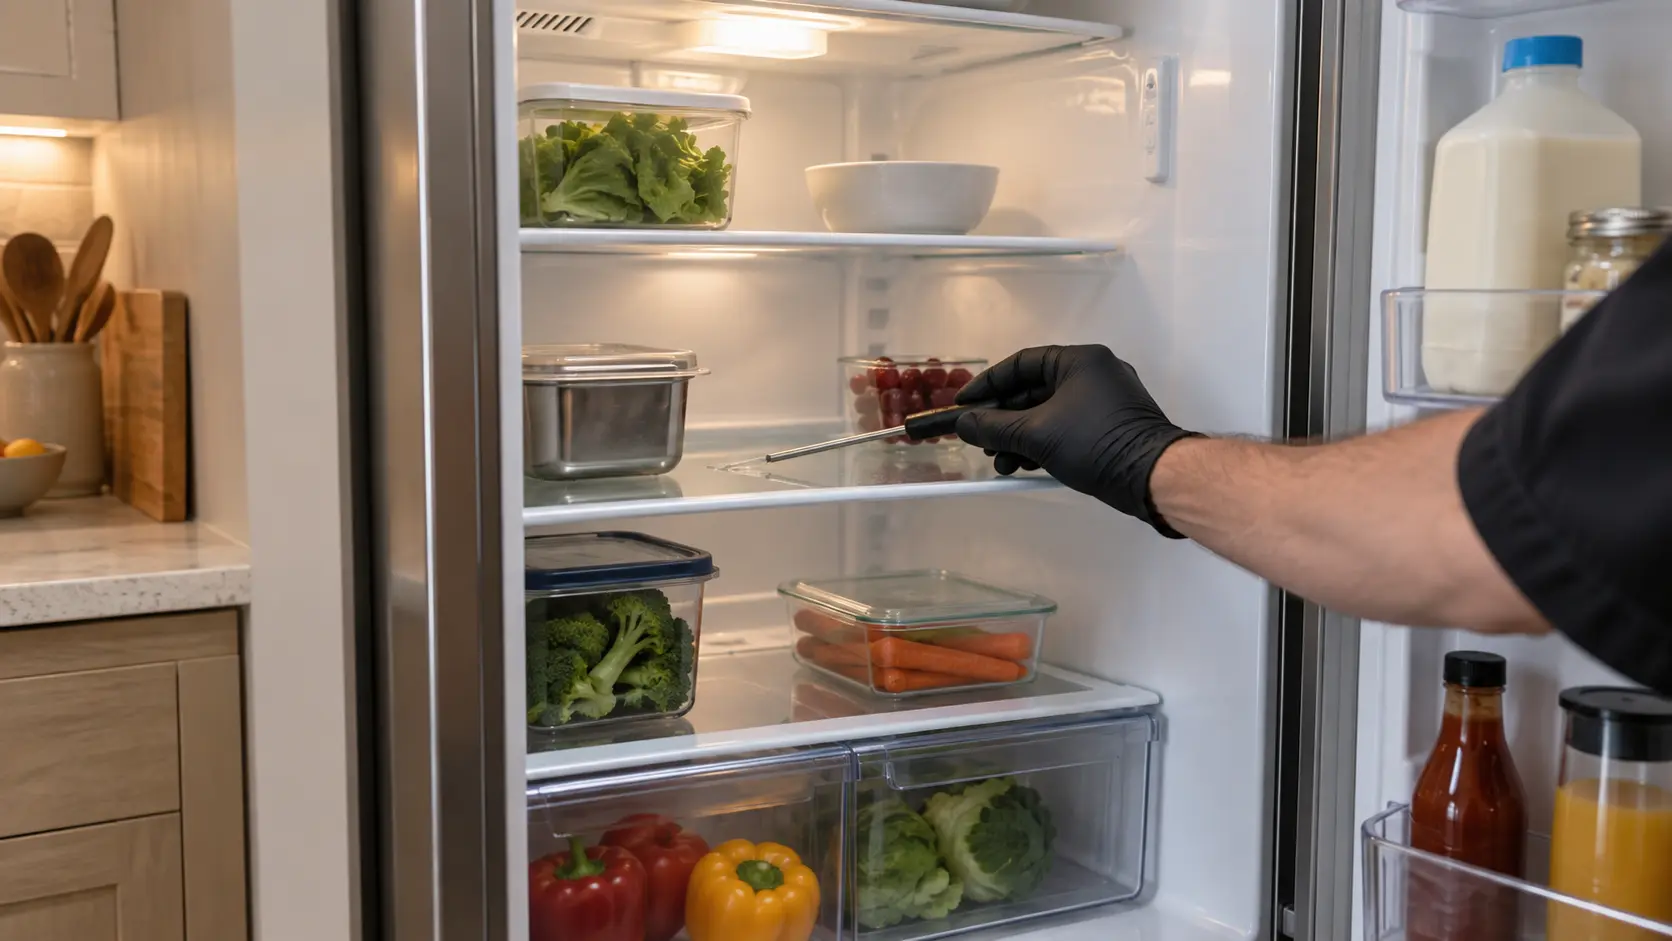
Cold air reaches the fresh-food side through slots or louvers, usually high on the back wall or in the ceiling, and it returns to the evaporator through openings lower down. A cereal box pushed against the back wall or a bag of greens pressed over a louver can starve a whole compartment while the freezer stays perfectly cold.
Take out whatever is touching the back wall and look for the openings. Keep an inch of clear space in front of each one. On models with a separate air tower in the center of the back wall, check that nothing has been wedged beside it.
Source: FDA — Are You Storing Food Safely? — Leave room so cold air can circulate around the food
Settings, modes and locks
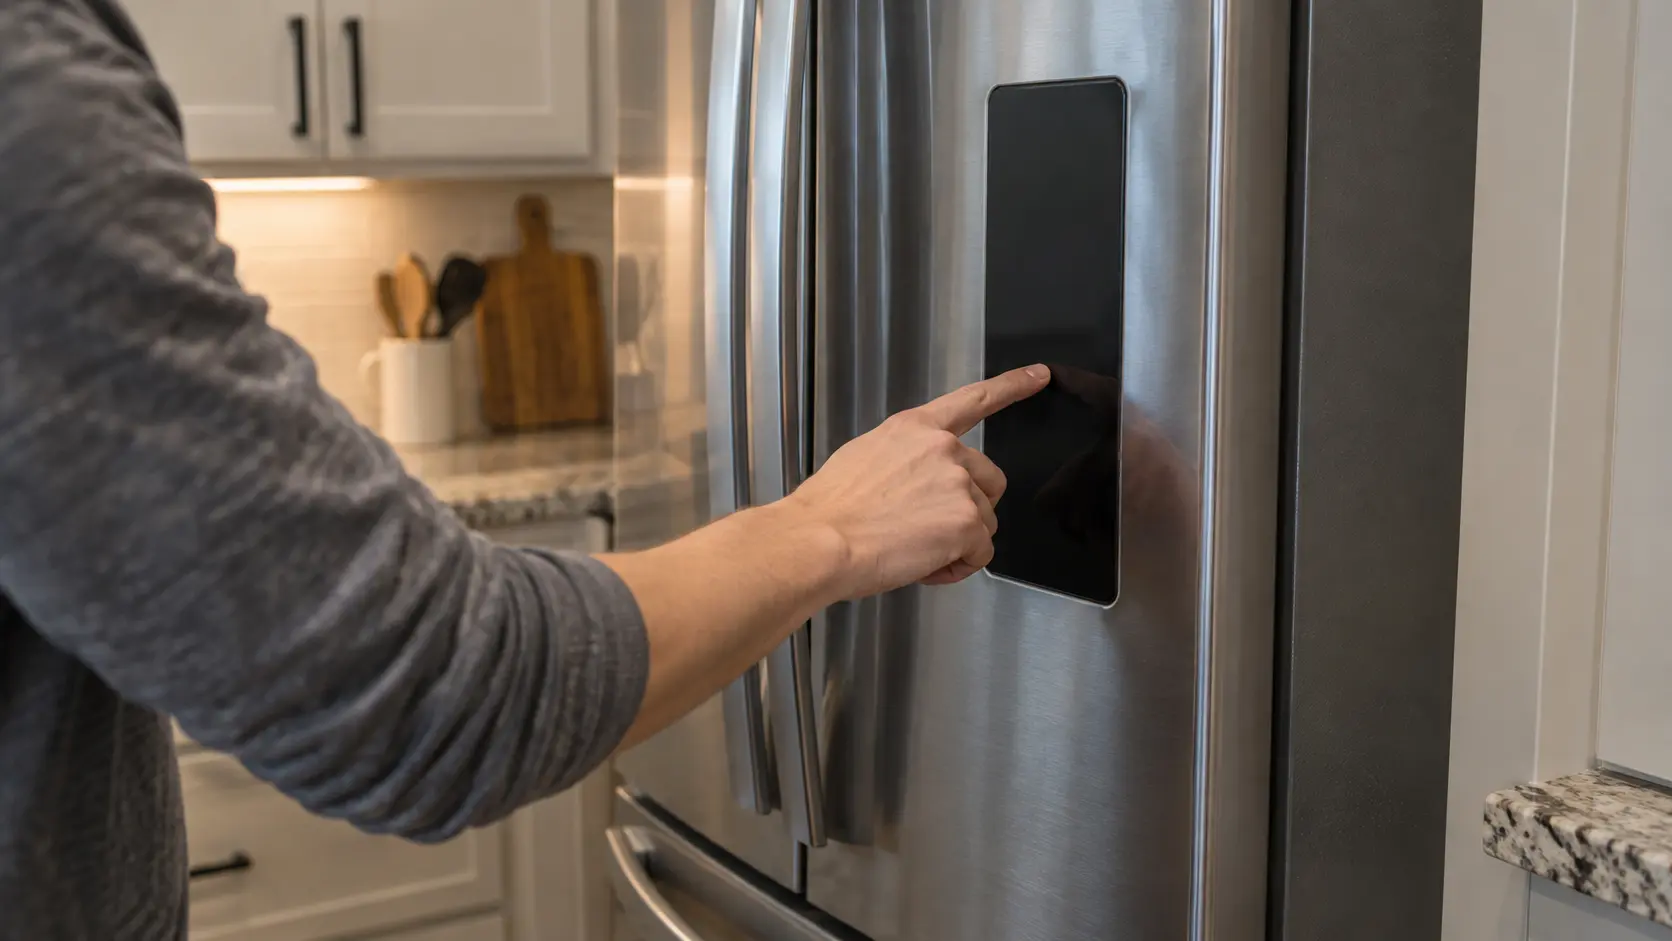
Read the control panel slowly, not at a glance. Check the set temperatures in both compartments, and look for a showroom, demo or display mode that keeps the lights and screen alive while the compressor stays off. The manual explains how to leave it, usually with a button combination held for several seconds.
Also look for these indicators:
- Vacation mode
- Sabbath mode, which on some models disables interior lights and alarms and can look like a dead control
- Energy-saver mode
- Control lock
A code on the panel
If the panel shows a code rather than a temperature, note it exactly and look it up in our error code library.
Source: Viking — FBI7360W built-in refrigeration manual (showroom and Sabbath modes) — Showroom mode disables temperature control; Sabbath disables lights and alarms
Reading the results together
The checks mean more in combination than one at a time. A seal that fails at the bottom corner on a unit leaning forward is one problem, not two: fix the tilt and the gasket may seat again by itself. A clear grille, open vents and correct settings on a unit that is still warm move the question inside the cabinet, to fans, defrost and the sealed system.
Keep a note of which checks passed and which did not, with the date. If the same corner fails again in spring, that history is what separates a worn hinge from a gasket that simply needs cleaning.